Easy Sweet & Sour Chicken
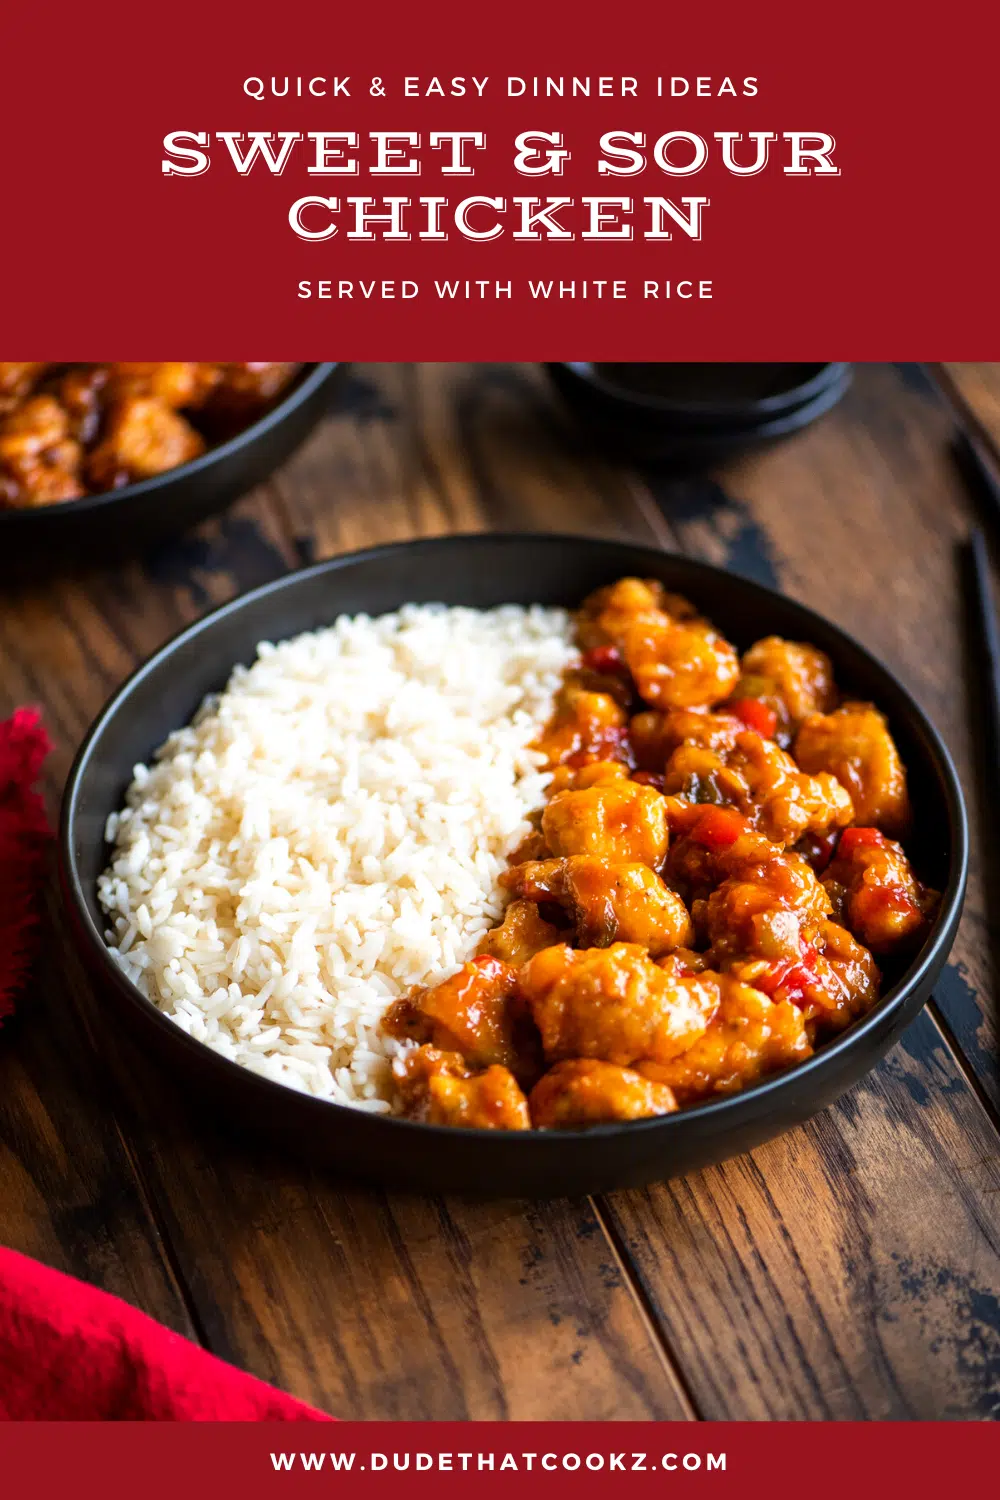
This Sweet and Sour Chicken recipe pairs crispy nuggets of fried chicken with a combo of bell peppers and a sweet yet tangy pineapple-laced sauce. It’s a family favorite and is ready and on the table in less than 30 minutes.
If you like this recipe, you’ll also enjoy my Boneless Teriyaki Chicken Nuggets, General Tso’s Chicken & Broccoli, and Indian Butter Chicken.
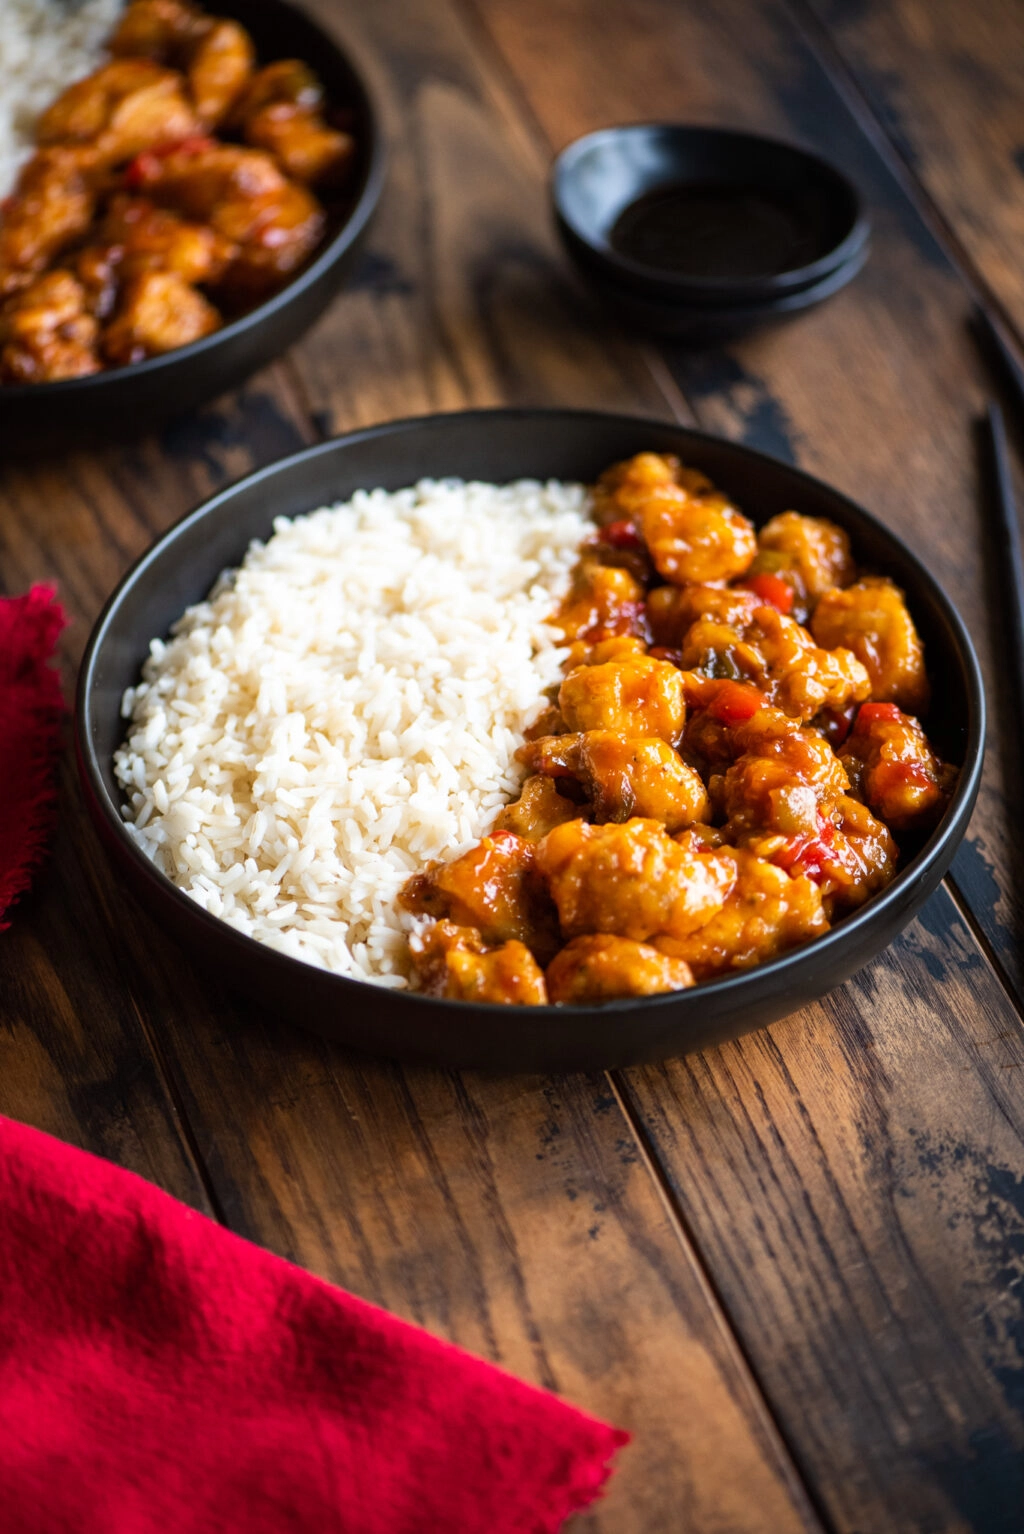
Sweet and Sour Chicken is a classic Chinese takeout option that we always make at home. While I love General Tso’s Chicken, my wife finds her favorite in this sweet and sour glazed fried chicken tossed with fresh green and red bell peppers.
It’s a dish that is sure to impress, and while it takes no time to prepare, pairing it with rice makes it a complete meal. (you have to make sure to have plenty of white rice on hand to soak up all the tasty sweet and sour sauce.)
Some may find reproducing their favorite takeout to be quite intimidating, but once you get the flavors and technique down, it is much easier to make than you would think.
Ingredients you’ll need:
- You’ll need four chicken breasts and because seasoning your protein is important (don’t just rely on the sauce for the flavor), you’ll also need black pepper, ground ginger, garlic powder, and sea salt.
- The cornstarch helps ensure each piece of chicken is nice and crispy.
- This recipe uses a “seasoned” all-purpose flour to coat the chicken lightly. So, in addition to the flour, you’ll need sea salt, black pepper, and garlic powder. Eggs are used as a binder for the coating.
- And for that deliciously sticky sweet and sour glaze, you’ll combine apple cider vinegar, white vinegar, brown sugar, ketchup, pineapple juice, soy sauce, green bell peppers, red bell peppers, cornstarch, water, minced garlic, ground ginger, sea salt, and garlic powder. (The cornstarch in the sauce thickens as it cooks, making a perfect coating for the chicken.)
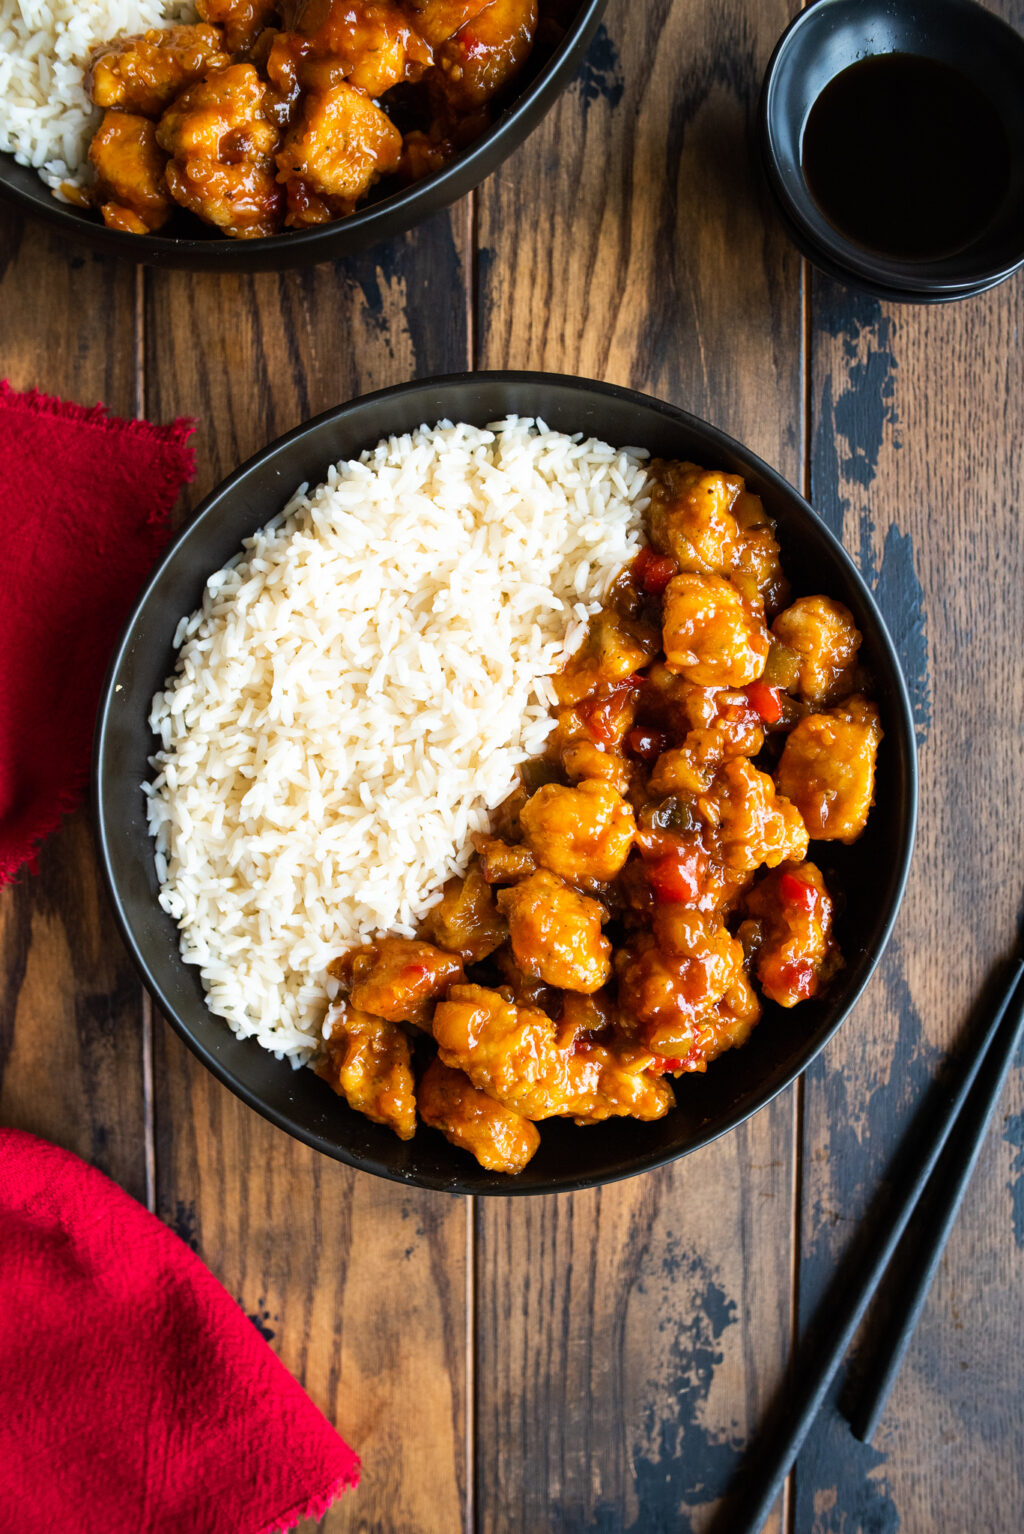
- You can serve your sweet & sour chicken with rice. I use Success Rice because it’s ready in 10 minutes and makes the perfect batch of rice every time.
Tips & Tricks
- How thick should be coating/breading be for the chicken? You don’t want your dish to contain more batter than tasty chicken so keep the breading light. One toss in the flour will do just fine. A doughy costing will absorb your sauce like a sponge, and you don’t want that.
- How do I keep from chicken from drying out? If your chicken is submerged in your oil, 5-6 minutes of cooking time at medium-high heat will do. Remember, the chicken will continue to cook while it is combined with the hot sauce.
- How do I make sure my dish tastes as close to American Chinese takeout as possible? The recipe is all about the sauce, and there are a few ingredients you just can’t skimp on if you want that takeout taste. Those ingredients are the soy sauce and the vinegars.
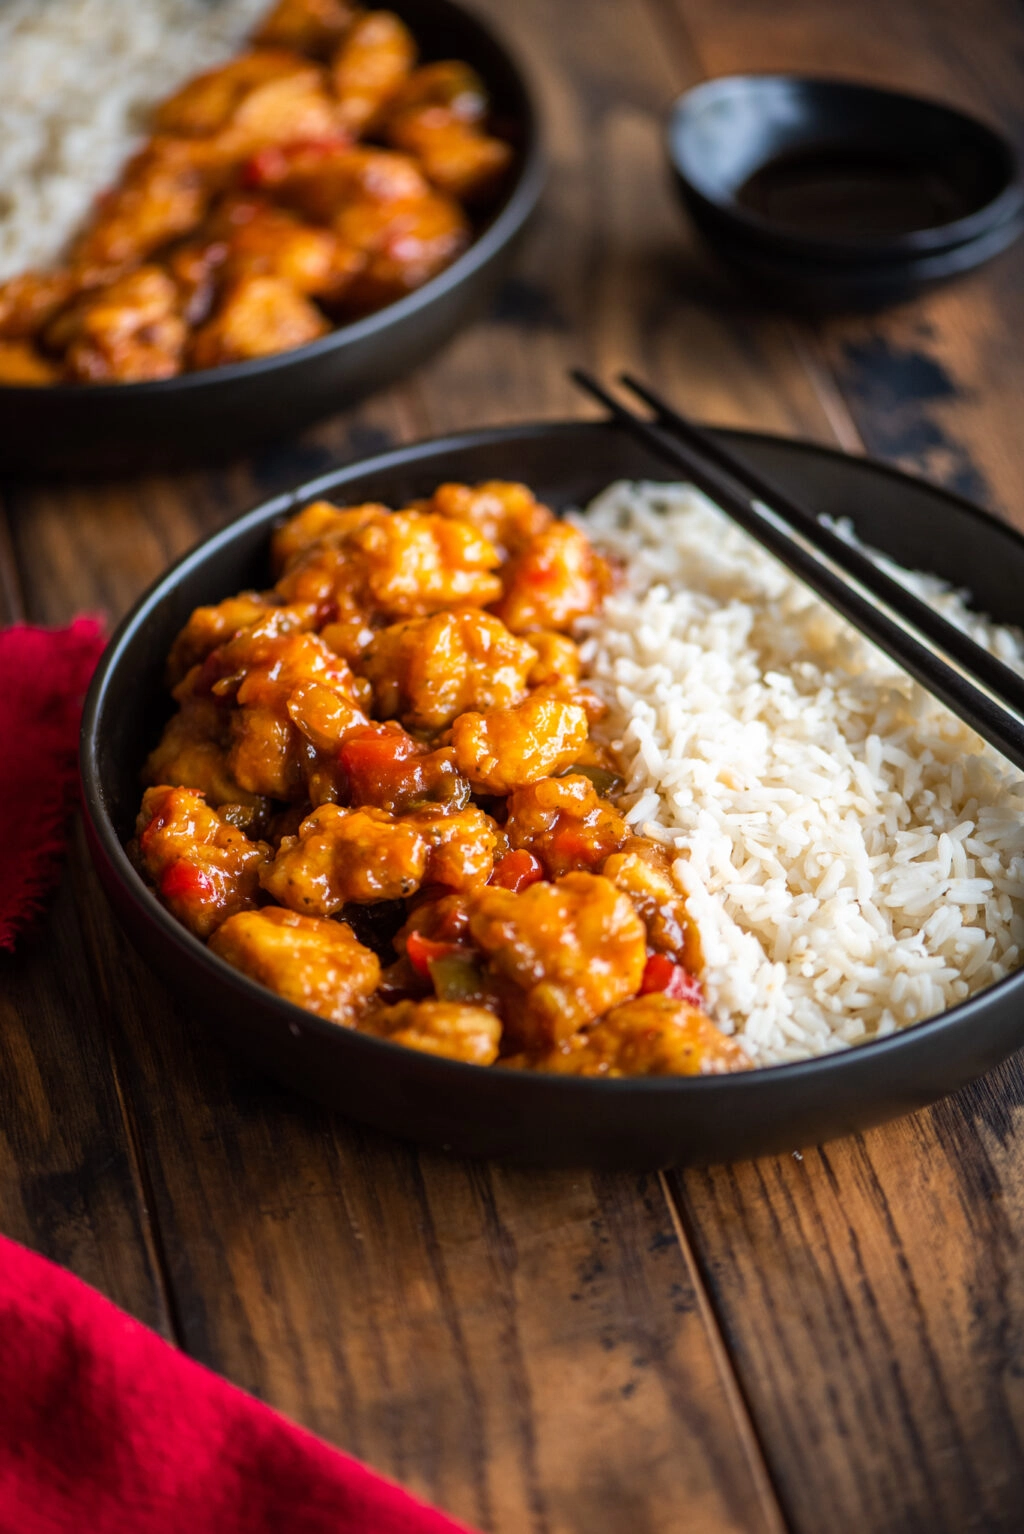
So skip the take-out and add this Sweet and Sour Chicken recipe into your dinner rotation. It’s savory, sweet, tangy, and perfect anytime.
Print
Easy Sweet & Sour Chicken
This Sweet and Sour Chicken recipe pairs crispy fried chicken with a combo of bell peppers and sweet yet tangy pineapple-laced sauce. It’s a family favorite and is ready and on the table in less than 30 minutes.
- Total Time20 minutes
- Yield4 1x
Ingredients
- 1 lb (4) boneless chicken breast
- 1 1/2 tsp black pepper, divided
- 1/2 tsp ground ginger
- 1 tsp garlic powder, divided
- 1 tsp sea salt, divided
- 1/2 cup cornstarch
- 2 eggs
- 1/2 cup all-purpose flour
- 1 cup canola oil, for frying
- optional rice, cooked
Sweet and Sour Sauce:
- 1/2 cup red bell peppers, chopped
- 1/2 cup green bell peppers, chopped
- 1/4 cup apple cider vinegar
- 1/4 cup white vinegar
- 1/2 cup brown sugar
- 1/4 cup ketchup
- 1/4 cup pineapple juice (from canned pineapples)
- 2 tbsp soy sauce
- 1 tbsp minced garlic
- 1/8 tsp garlic powder
- 1/2 tsp sea salt
- 1 tbsp Cornstarch
- 3 tbsp Water
Instructions
- Cut chicken breast into cubes. Season evenly with 1 tsp black pepper, ground ginger, 1/2 tsp garlic powder, and 1/2 tsp salt.
- In a bowl, add eggs and whisk (paid link), and set to the side. In a second bowl, add the cornstarch. Add flour, 1/2 tsp black pepper, 1/2 tsp garlic powder, and 1/2 tsp salt in a large bowl. Whisk (paid link) and set to the side. Coat chicken in cornstarch, and egg mixture, then coat in the flour mixture.
- Add cooking oil to a frying pan at high heat and pan-fry chicken for 4 to 6 minutes. Remove from heat and drain on a rack or paper towel.
- For the sauce, add chopped peppers to a sauté pan at medium heat. Cook for 4 to 5 minutes. Add apple cider vinegar, white vinegar, brown sugar, ketchup, pineapple juice, soy sauce, minced garlic, garlic powder, and salt. Stir slowly until well blended.
- Combine cornstarch and water in a small bowl and mix. Add to the same pan. Cook at medium-low heat for 7 to 10 minutes. Lower the heat to low.
- Place cooked chicken into the sauce and coat well. Service with rice (optional).
Notes
To transform this recipe to gluten-free, replace the cornstarch with arrowroot (an easy one-to-one substitution) and replace the all-purpose flour with almond flour.
- Prep Time: 10 minutes
- Cook Time: 10 minutes
- Category: Comfort Food
- Method: Stove Top
- Cuisine: Asian
Nutrition
- Calories: 592
- Sugar: 25.5g
- Sodium: 745mg
- Fat: 10.3g
- Carbohydrates: 80.4g
- Fiber: 2.1g
- Protein: 40.9g
- Cholesterol: 147mg