No Churn Biscoff Ice Cream
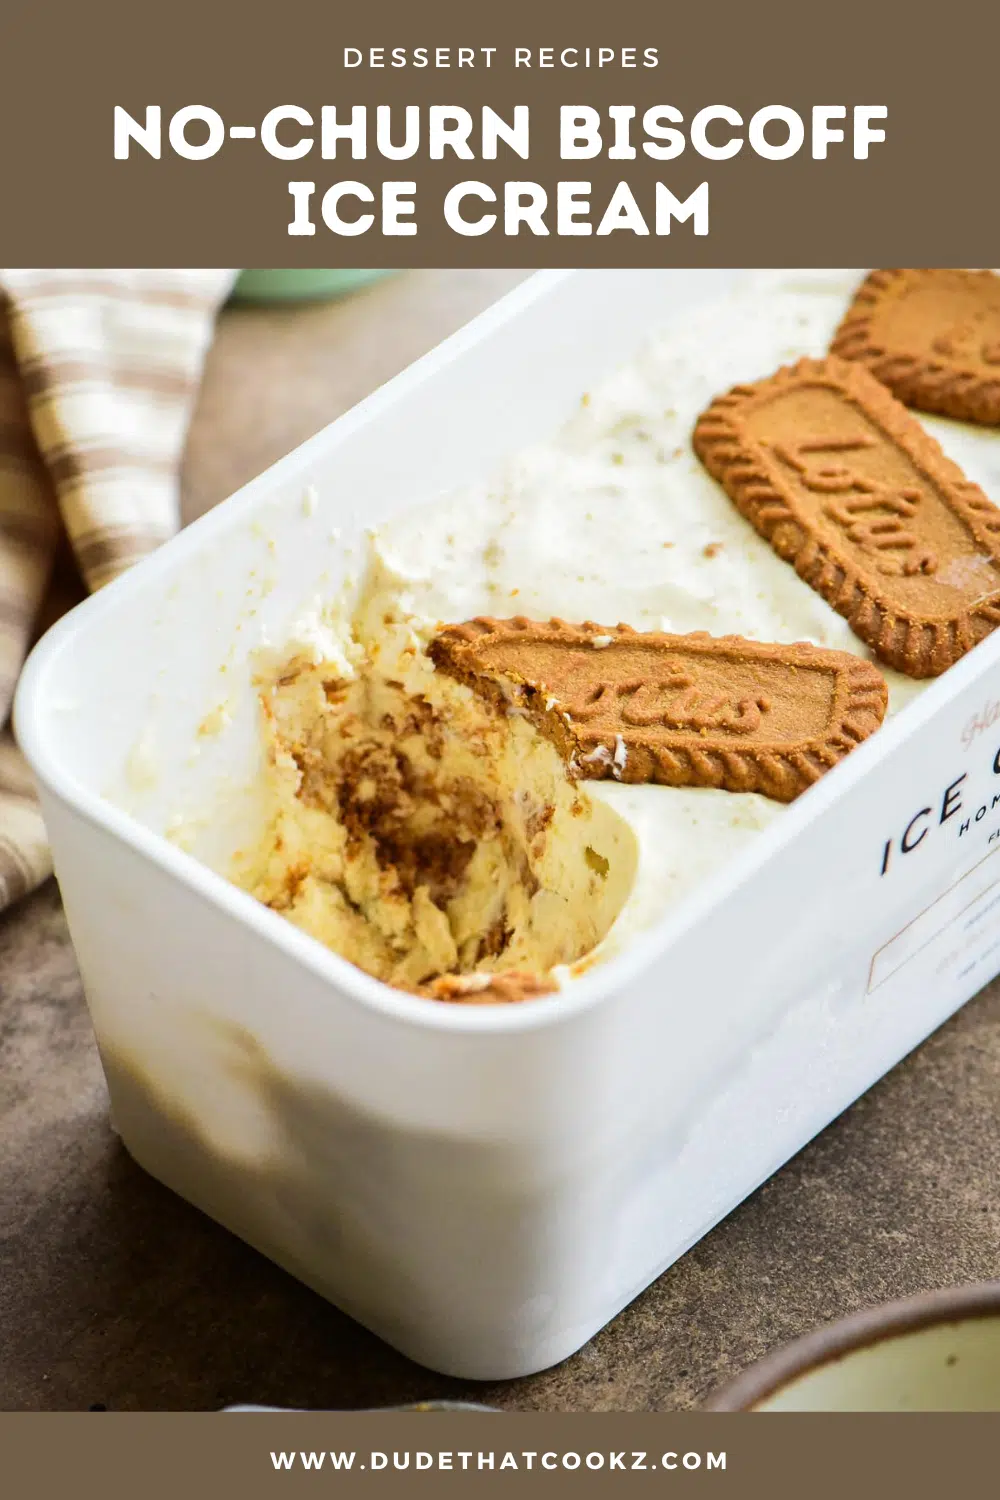
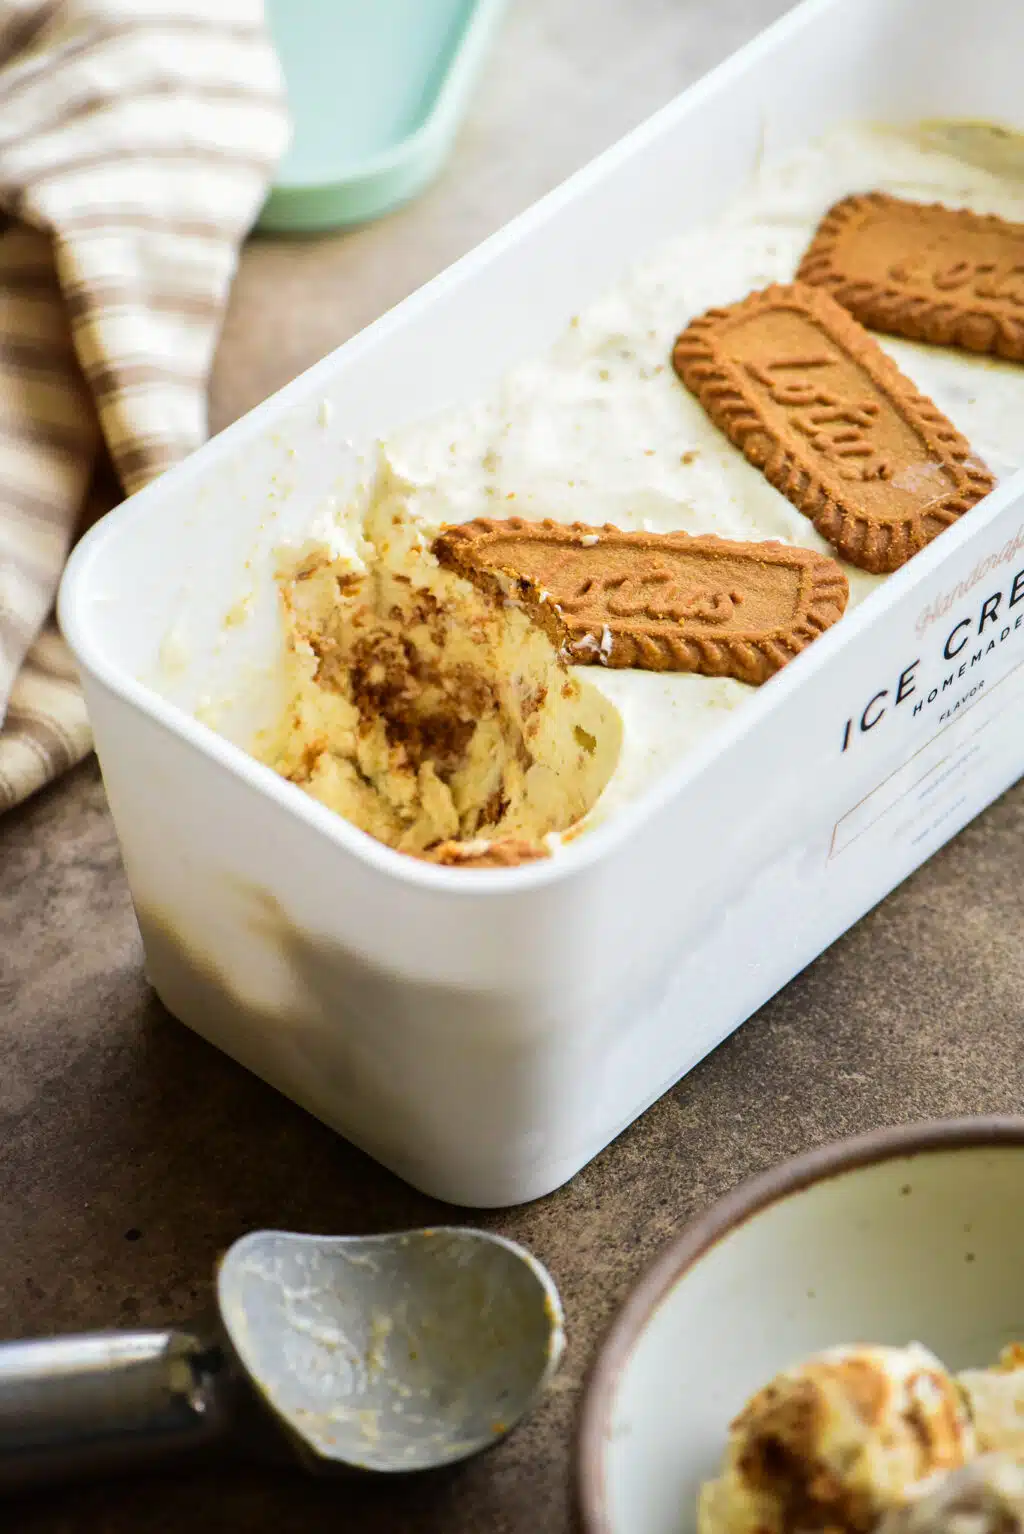
Who doesn’t love ice cream? Just one taste of this smooth, rich, and creamy No-Churn Biscoff Ice Cream will be an unforgettable experience. This perfect summer treat requires only five ingredients and is very easy to make — and no ice maker is required!
Looking for more ways to use Biscoff? You should also check out my Biscoff Cheesecake and Biscoff & Cream Boozy Milkshake.
This recipe is a product of childhood memories with my grandfather, who used to make homemade ice cream from scratch (I can still taste it), and Delta Airlines, which served Biscoff cookies on every flight.
While my grandfather made his ice cream the traditional way, by churning it, this no-churn recipe makes homemade ice cream more approachable. It’s a dessert that anyone can make, and it doesn’t require any special kitchen gadgets or tools, like an ice cream maker.
With a simple combination of heavy whipping cream, sweetened condensed milk, vanilla extract, sea salt, and crumbled Biscoff cookies, you are just a few steps away from enjoying what has become a new favorite with my kids!

So, what does no-churn mean?
No-churn means you don’t need an ice cream maker to make this ice cream. All you need is a stand mixer with a whisk (paid link) attachment or a hand mixer (paid link), along with a large bowl. Additionally, unlike the more traditional method, the recipe does not require eggs, and no slow “churning” is necessary.
Ingredients you’ll need to make No-Churn Biscoff Ice Cream:
Be sure to check out the full recipe and ingredient list below
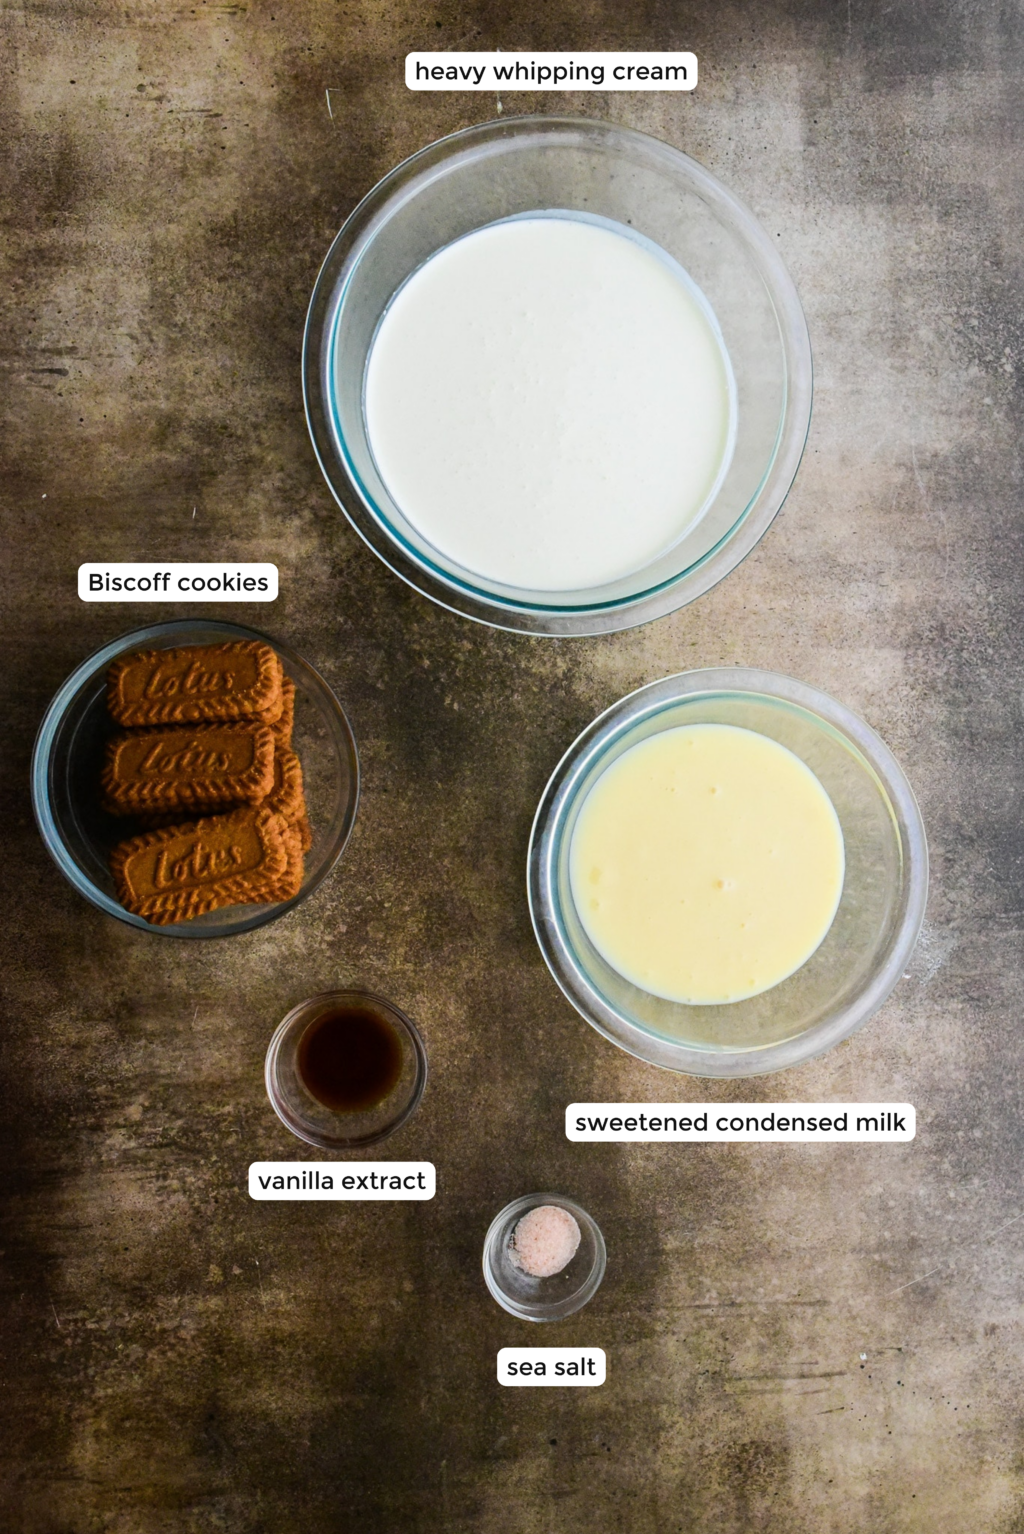
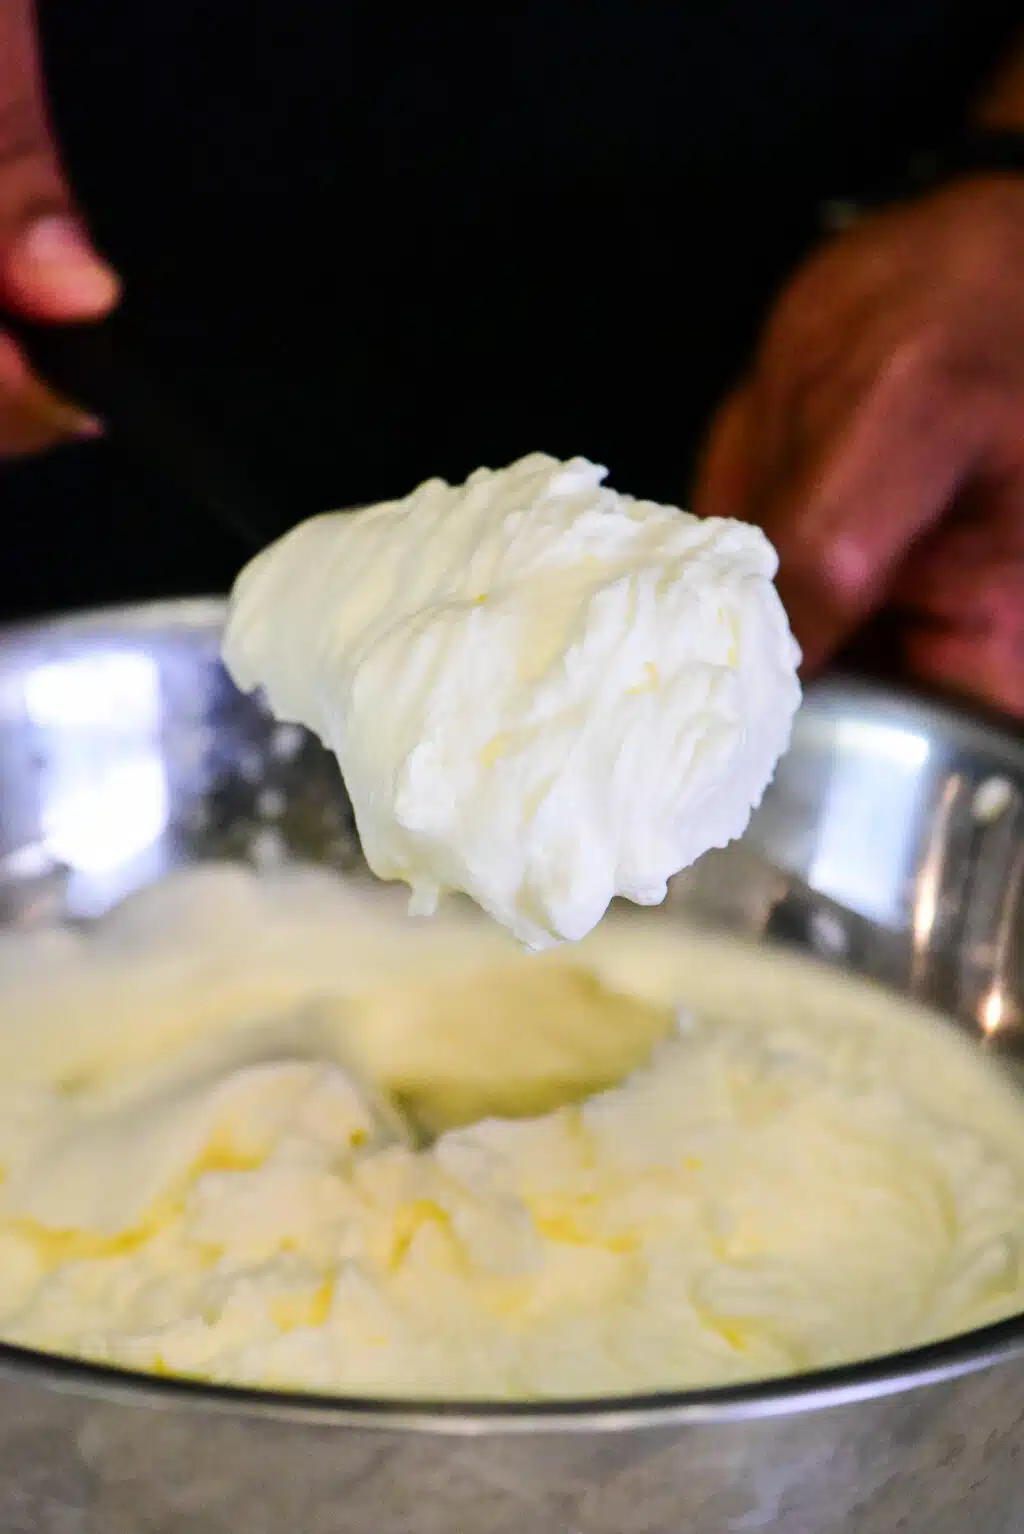
- The foundation of this ice cream is full-fat heavy whipping cream. It is essential to achieve that creamy texture. You’ll whip it until soft peaks form for the perfect base. Unfortunately, there are no great substitutes as heavy cream provides the right amount of fat and air necessary for the ideal consistency.
- Sweetened condensed milk adds sweetness while keeping the ice cream smooth and creamy.
- Vanilla extract enhances the flavor and adds depth to the ice cream. Adding a little sea salt helps cut through the sweetness and enhances the flavors, too.
- Finally, the cinnamon-spiced Biscoff cookies will be the star of the show. Tip: Substitute other cookies, such as Oreos, chocolate chip, wafers, gingersnaps, or graham crackers, for a different twist.
How to make No-Churn Biscoff Ice Cream:
Whip the heavy whipping cream. In a large, chilled stainless steel bowl, whip the heavy whipping cream for 3 to 5 minutes. To whip heavy whipping cream using a hand mixer (paid link), start at a low speed and gradually increase the speed. Whip until stiff peaks form, then place it in the fridge for a later step. The peaks should hold their shape when you pull the whisk (paid link) out.
Blend the sweetened condensed milk with vanilla extract and salt. Add sweetened condensed milk, vanilla extract, and sea salt to a separate bowl and blend for 1 to 2 minutes, and set aside.
Crumble the Biscoff cookies. If you have a food processor (paid link), add the Biscoff cookies and blend slightly. If you don’t have a food processor (paid link), add the cookies to a ziplock bag and crush them with a rolling pin or any other flat, hard object.

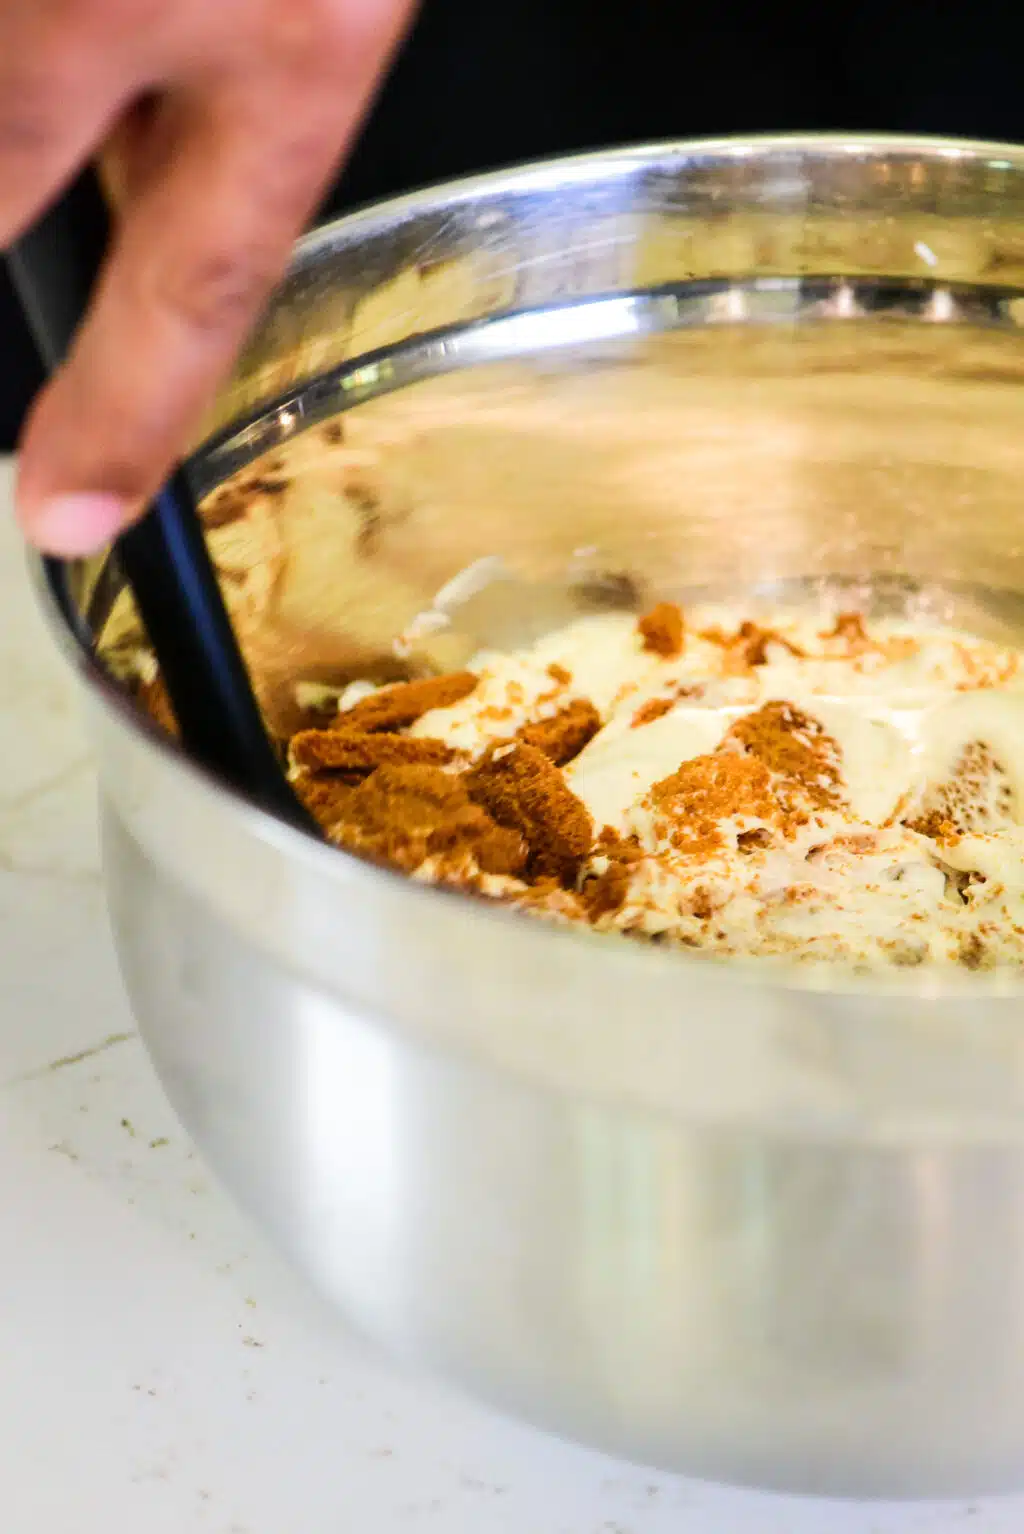
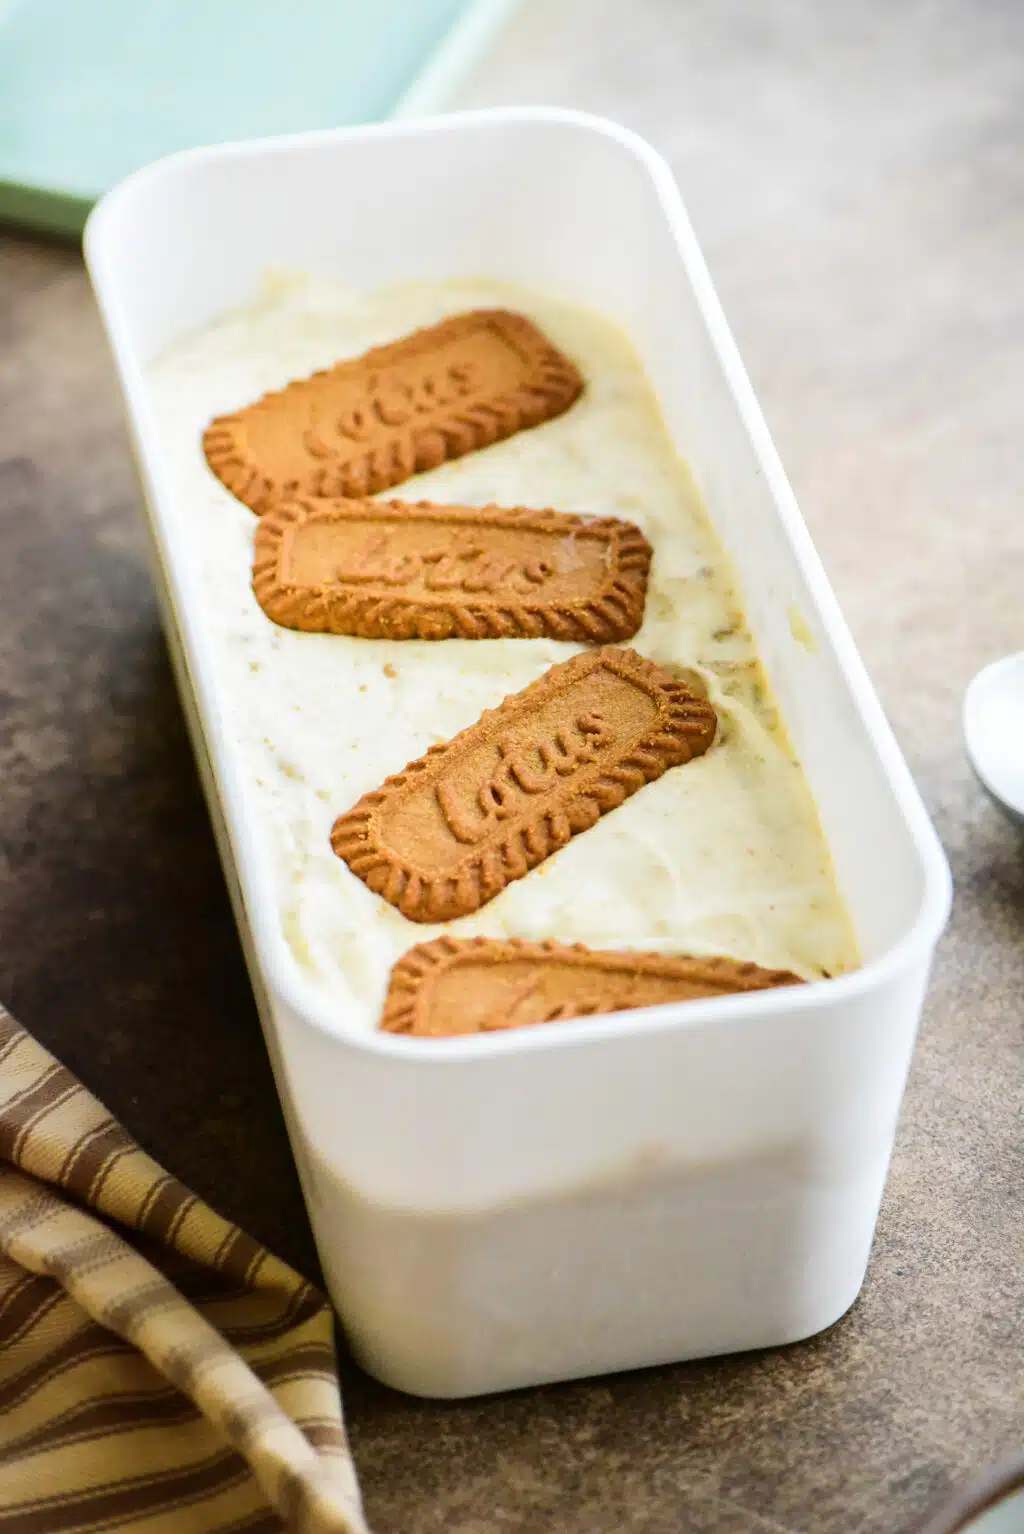
Mix all ingredients together. Slowly add the sweetened condensed milk mixture to the bowl with the whipped heavy whipping cream, and gently stir the ingredients together without overmixing. Add the Biscoff cookie crumbles into the bowl and gently fold together. Pour the ingredients into the ice cream tub container (paid link). Cover it tightly with plastic wrap or a lid.
Freeze the ice cream. Place the ice cream in the freezer for at least 6 hours or overnight (or until firm) for optimal results.
Tips & Tricks for no-churn ice cream
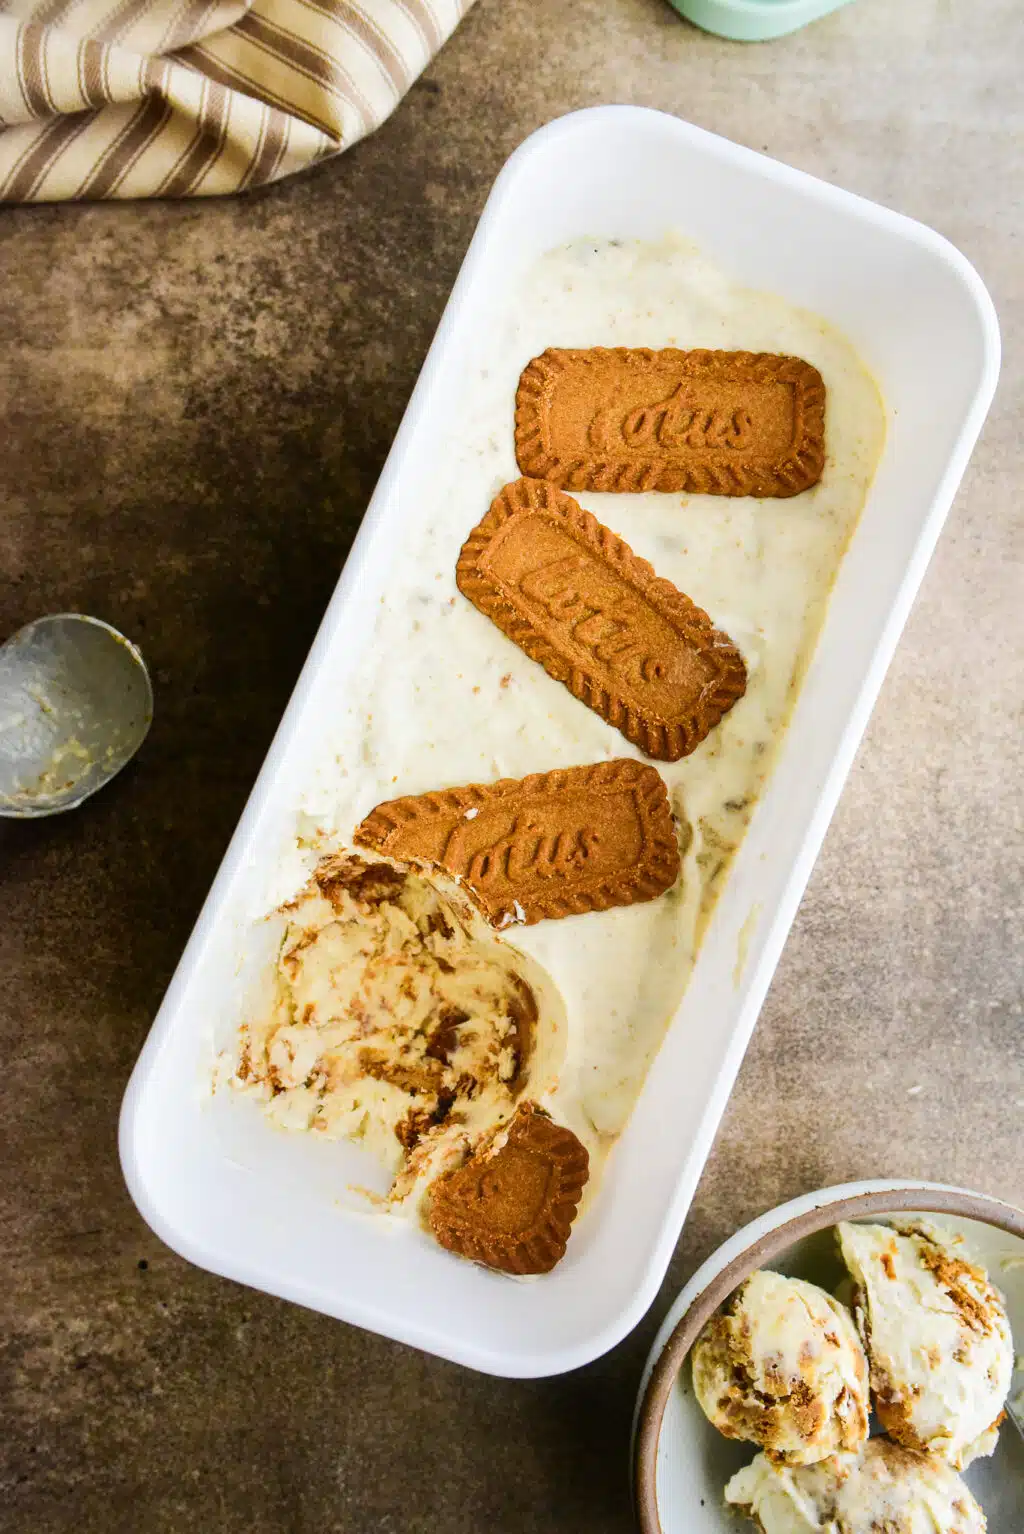
If you’re an ice cream lover, I do believe this recipe will be your new favorite. With minimal effort and ingredients, you can enjoy this No-Churn Biscoff Ice Cream anytime.
Print
No Churn Oreo Ice Cream
You only need 5 ingredients to make this No Churn Oreo Ice Cream! If cookies and cream ice cream is your go-to, this is the perfect choice.
- Total Time20 minutes
- Yield4 – 6 1x
Ingredients
- 2 cups heavy whipping cream, chilled
- 14 oz sweetened condensed milk
- 1 1/2 tsp vanilla extract
- 1/4 tsp sea salt
- 20 Oreo cookies
Instructions
- In a large, chilled stainless steel bowl, whip the heavy whipping cream with a hand mixer (paid link) for 3 to 5 minutes until stiff peaks form. Start at a lower speed and then gradually increase it to a higher speed. Set it in the fridge to use in a later step.
- Add the sweetened condensed milk, vanilla extract, and sea salt to a separate bowl and blend together for 1 to 2 minutes, then set to the side.
- Add the Oreo cookies to a food processor (paid link) and pulse slightly. If you don’t have a food processor (paid link), add the cookies to a ziplock bag and crush them with a rolling pin or any other flat, hard object.
- Slowly add the sweetened condensed milk mixture into the bowl with heavy whipping cream, stirring the ingredients together without overmixing. Add the cookie crumbs to the bowl and fold them together.
- Pour the ingredients into a 1-quart ice cream tub container (paid link) and cover with plastic or a lid.
- Place ice cream in freezer for at least 6 hours or overnight.


Nutrition
- Serving Size: 3 scoops
- Calories: 847
- Sugar: 101.5g
- Sodium: 1395mg
- Fat: 31.6g
- Carbohydrates: 124g
- Fiber: 0.8g
- Protein: 15.5g
- Cholesterol: 94mg
Best ice cream we’ve ever had. And so easy. Low effort for big payoff. Made it for a dinner party, and everyone raved. The consistency is almost like gelato– very creamy. So fresh tasting, too. I don’t think I’ll be buying ice cream at the store any time soon.
You just made my day, Maggie! We love feedback like this. So glad you and your guests enjoyed it!